




The island is where a lot of kitchens quietly go wrong. Pick the cabinet footprint first and you can end up with tight walkways, doors that clash and stools that block the cook. The measurement that counts is the finished installation, not the carcass size on a plan.
This guide is written for kitchen fitters, joiners and trainees who set these out for real. It covers domestic work only. Commercial catering kitchens are a separate job, with their own hygiene, fire and ventilation rules.
Good kitchen island dimensions start from how people work and move around the island, then back into the cabinet size. Do it the other way round and the cabinets end up dictating the room.
Kitchen Island Dimensions at a Glance
Here are the ergonomic figures most designers work to, so you can sanity-check a proposal fast. They come from the National Kitchen & Bath Association’s kitchen planning guidelines, which are US design recommendations, not UK statutory minimums.
| Element | Planning Figure |
|---|---|
| Work aisle, one cook | At least 1,067 mm (42 in) |
| Work aisle, multiple cooks | At least 1,219 mm (48 in) |
| Walkway with no work function | At least 914 mm (36 in) |
| Seat width per diner | 610 mm (24 in) |
| Knee depth at a 914 mm counter | 381 mm (15 in) |
| Counter edge to obstruction, no traffic behind | 813 mm (32 in) |
| Counter edge to obstruction, traffic behind | 1,118 mm (44 in) |
Treat these as a first check, not a guarantee. Accessibility rules, appliance instructions and the way the room is actually used can all push the numbers up.
Start with the UK Rules Before the Cabinet
Before any clearance gets fixed, work out which rules bind this specific project. Getting this wrong is the most common compliance slip on island jobs.
Work Out Which Rules Apply
UK projects don’t all follow the same guidance. England’s Approved Documents are not UK-wide, so don’t quote them in Scotland, Wales or Northern Ireland. Confirm four things before you sign off a layout:
- Nation: Check whether England, Scotland, Wales or Northern Ireland rules apply.
- Building Type: Confirm it's a dwelling, and which category.
- Scope of Work: Separate a new build from a refurbishment.
- Regulatory Edition: Use the current edition, plus any transitional arrangements.
When Accessibility Sets the Island Position
Accessibility standards can decide where the island goes, not just how big it is. In England, Approved Document M Volume 1 (2015 edition, incorporating the 2016 amendments) sets clear-space figures for two higher dwelling categories. Both are optional requirements that apply to new dwellings only when a planning condition calls for them:
- M4(2), Accessible and Adaptable Dwellings: Paragraph 2.24 asks for at least 1,200 mm clear space in front of and between all kitchen units and appliances.
- M4(3), Wheelchair User Dwellings: Paragraph 3.32 raises that to a clear access zone at least 1,500 mm wide.
These are not blanket aisle sizes for every kitchen. M4(1), the default standard for most homes, says nothing about kitchen layout. So a layout can meet a general ergonomic figure and still fail the accessibility standard a project is tied to. Settle that before you order units or fix service positions.
How to Measure the Room and the Island
Measure what will be there on completion, not what’s there now. Bare walls and a stripped floor will both change the finished sizes.
- Measure the Finished Room: Allow for wall finishes, service boxing, skirtings and any change to the floor build-up. Check walls for bowing and corners for square instead of trusting one width reading.
- Record the Full Island Footprint: Keep the cabinet footprint separate from the finished worktop size. Include end panels, support posts, handles and any projection past the cabinet fronts.
- Work in Plan and Section: Measure kitchen island dimensions in both. The plan shows circulation clashes. The section shows conflicts between worktop thickness, appliance height, knee space and the services under the top.
- Use the Finished Floor Level as the Datum: As an example, a 720 mm cabinet, a 150 mm plinth and a 30 mm worktop give a 900 mm finished height. That's an illustration, not a fixed rule. The cabinet system, the appliance and the user set the real build-up.
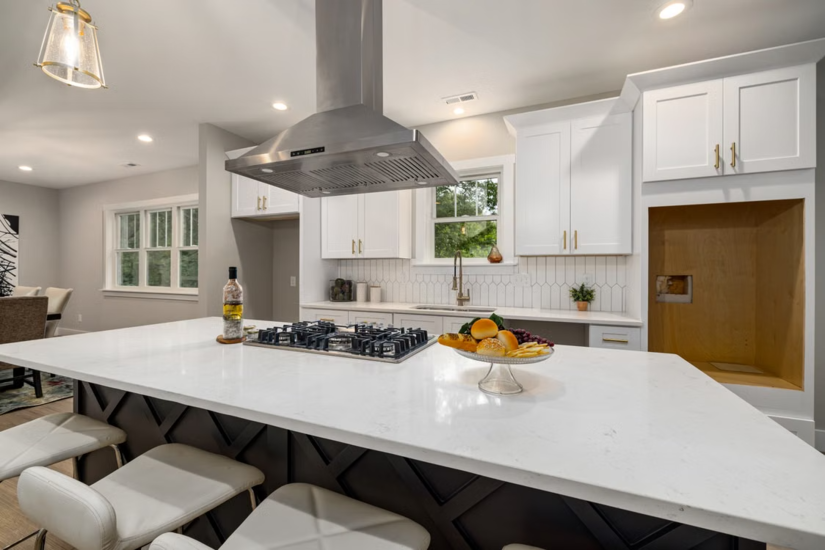
Clearance Around a Kitchen Island
Clearance is the thing people feel every day, so it pays to get it right before storage or looks. Match the gap to what actually happens in it.
Working Aisles vs Passing Routes
Not every gap does the same job, so don’t give them all the same width. The aisle beside an oven is a work zone. The gap leading to the dining room is a passing route.
- Working Aisles: Where someone works at the island while another person uses the run behind, check both positions in use. Include bending to low cupboards, pulling out drawers and carrying hot dishes.
- Passing Routes: Keep regular through-traffic away from the cooking zone wherever the layout lets you.
- Pinch Points: Record both the worktop-edge gap and any tighter gap made by handles or a proud appliance. That stops a drawing showing a fine aisle while the real thing holds a trap.
Marking the island out at full size on the floor, with appliance doors drawn in, will settle an uncertain layout before anything gets made.
Designing a Kitchen Island with Seating
Seating capacity comes from clear knee space as much as from the length of the worktop edge. The NKBA figures above are for usable space per diner, not raw edge length.
Give Each Diner Real Knee Space
Three places at 610 mm each need 1,830 mm of usable seating frontage. End supports, legs and chunky details can push the overall island length well past that.
Check the stools against the finished underside of the top, not just the surface height. Thick edges, hidden steel and support rails can all eat into thigh clearance. Confirm the stool’s seat height, back and footrest against the furniture spec.
Draw the Stools in Use
Tucked-in stools give a false read of the space. Draw them pulled out, in the position people actually sit in.
- Island Backing onto a Table: Assess the table chairs and the island stools together. Two seating zones can fight over the same floor.
- Routes That Must Stay Clear: Show the usable passage with the furniture in its real position, not pushed away.
Seating Near a Hob Needs a Safety Check
Keep diners outside the hob’s required clearances. Check their exposure to hot pans, splashes and handles that stick out. The usual breakfast-bar overhang is not a safe separation from a cooking zone on its own.
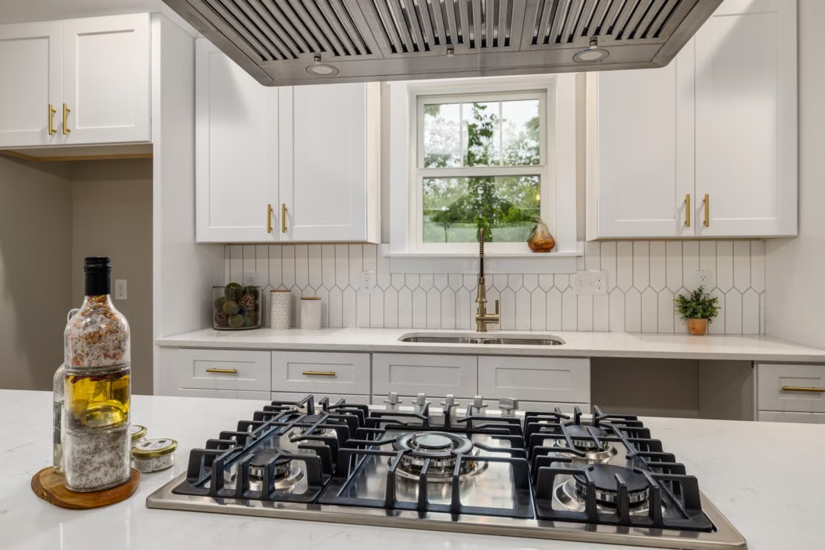
Ventilation, Sinks and Services
Services decide more island layouts than people expect. Sort the ventilation route, waste run and power positions before you commit the cabinets.
Ventilation
Any cooking island needs a ventilation plan that suits the building, not just the furniture. Fix the discharge route, duct space and maintenance access before you finalise drawers or cut through structure.
In England, Approved Document F Volume 1 (2021 edition) separates extract ventilation from recirculation. On its own, a recirculating cooker hood does not meet the extract requirement. Check the edition and the provisions that apply to your project, including any transitional arrangements.
Sinks and Power
- Waste and Water: Work out a viable waste run, water connections and service access before you fix the sink position. Count the bowl, tap and any filter or bin in the cabinet section, since together they can swallow a lot of storage.
- Sockets Near the Sink: Electrical Safety First advises keeping sockets and switches a safe distance from a sink, ideally at least 300 mm horizontally. That's guidance, not a fixed statutory zone, and a competent electrician decides the real positions.
- Gas Hobs: Any gas work must go to a Gas Safe registered engineer. Sort the gas run and appliance clearances before the island is built.
Worktop Overhangs and Support
Seating overhang is a structural job, not just knee space. Its support has to match the worktop material, thickness and shape.
Caesarstone’s overhang guidance gives material-specific limits for its quartz, and those can’t be copied straight onto timber, compact laminate or porcelain. Get the right maker’s figures and the fabricator’s support details.
- Show the Support: Draw brackets, frames and legs on the seating elevation, and check they don't eat into the knee space you planned.
- Watch Cut-Outs and Joints: Factor these into the support agreement.
- Fix to the Floor Safely: Match the anchorage to the floor construction and known service routes. Where the build-up hides heating or cables, set out safe fixing points before anyone drills.
Developing your fitting skills? Tradefox offers interactive training in construction work. Explore the guided simulations, practise at your own pace and build confidence in skills used across kitchen projects.
What to Record for Installation and Handover
Pull it together into one drawing set the whole team can work from. That’s what keeps the fitter, electrician, plumber and fabricator aligned.
The final package should show the finished kitchen island dimensions, aisle widths, seating positions and appliance opening envelopes. Add sections through the hob, sink and seating overhang where they help. Name the exact appliance models and keep their installation sheets with the worktop support spec.
Before handover, check the built island against those drawings:
- Operation: Confirm doors and drawers work as drawn.
- Ventilation: Make sure the extract openings are still clear.
- Seating Space: Check that brackets or supports haven't stolen the knee room.
Any change to an appliance, worktop, or panel along the way should send you back to review the sizes it affects.