If you’ve ever painted a wall or ceiling in a UK home, you’ll know that feeling of stepping back and seeing roller marks.
Those faint lines, flashing patches or tramlines across what should be a smooth finish can ruin even the most beautiful colour. The worst part is they often appear after the paint is dry, when it’s too late to do anything about it.
The good news? Roller marks aren’t inevitable. They’re caused by technique, preparation, and materials, and once you know what causes them, avoiding them becomes second nature.
This guide breaks down the common culprits and shares professional tips decorators use for a flawless finish.
Why Do Roller Marks Happen?
The most common reason roller marks show up is uneven paint distribution. Too much paint and the roller leaves ridges or heavy bands. Too little and the wall looks patchy. Both extremes lead to visible marks once dry.
Drying conditions also play a part. A room that’s too warm or sunny causes the edges of each section to dry before you’ve had a chance to blend them in. The result: lap marks that show up under light.
Another culprit is tool choice. Cheap rollers shed fibres or don’t hold enough paint, forcing uneven strokes. Nap length matters too, using a long-pile roller on a smooth plaster wall leaves a stippled texture instead of a smooth coat.
Finally, technique itself can let you down even with a good setup. Inconsistent pressure, rushing sections, or rolling back over paint that’s half dry all invite the dreaded tramlines.
Preparation: The Foundation For A Flawless Finish

Pros will tell you: painting starts before the roller hits the wall. Preparation eliminates many of the problems that cause roller marks.
First, the surface must be clean. Dust, grease, and loose plaster stop paint from adhering evenly. A wipe down with sugar soap or similar will give the paint a fresh base to adhere to.
For new plaster, priming is essential. A mist coat (diluted emulsion) seals the surface so the topcoats soak in evenly rather than patchily. Skimping on this step is a shortcut to flashing marks.
Imperfections, hairline cracks, small dents, or rough filler, should be sanded smooth. Even small bumps create shadows under dried paint that draw the eye to roller tracks. Good lighting during prep is underrated.
A bright inspection lamp or daylight bulb will show flaws before they’re locked under two coats of colour.
Choosing The Right Tools And Materials
Cheap rollers will guarantee problems. A good quality roller sleeve, usually microfibre or woven fabric, will hold paint evenly and release it smoothly onto the surface.
Pile length is critical. Short pile (5-7mm) is for flat, smooth walls. Medium pile is for slightly textured plaster, and long pile (12-15mm) is for rough ceilings or artex. Using the wrong pile length will show as marks.
Extension poles help maintain pressure and consistency on ceilings. They also reduce fatigue, which often causes uneven rolling towards the end of the job.
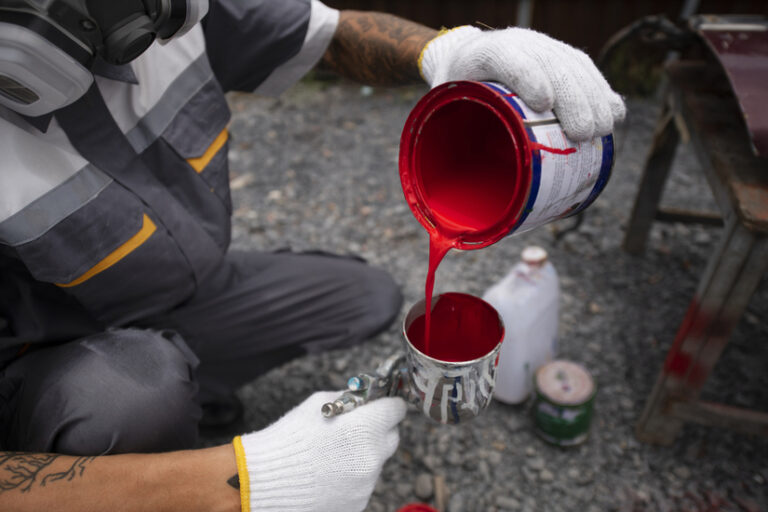
Paint itself matters too. Bargain tins often need more coats and dry faster, giving less time to blend sections. A trade-quality emulsion, while pricier, provides better coverage and longer working time.
Even how paint is loaded makes a difference. Scuttles and grids give more consistent loading than shallow trays, which encourage overloading or patchy rollers.
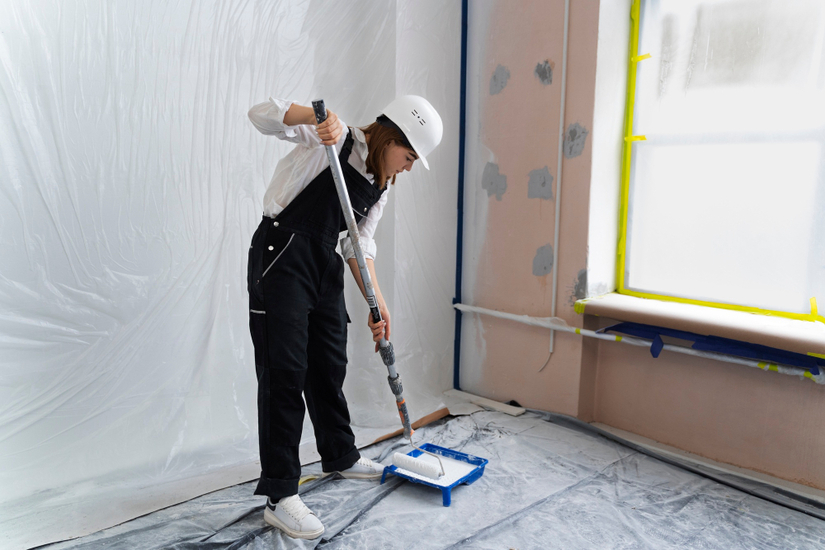
Professional Rolling Technique
A decorator’s hallmark is steady, smooth rolling. One tried and true method is the “W” or “M” technique.
The roller is rolled onto the wall in a zig-zag motion, covering a section, then smoothed out with vertical passes. This stops heavy paint bands from forming at the start and end of strokes.
Working in sections around a square metre helps you stay in control. Each new section should overlap the last while the paint is still wet. That overlap is what stops the lap marks from showing once the surface is dry.
Keeping a wet edge is key. If the leading edge dries before you’ve overlapped it, you’ll get visible seams. That’s why decorators work methodically, not jumping around the room.
Pressure should be consistent. A roller isn’t a scrubbing brush; pushing harder doesn’t spread the paint further, it just squeezes ridges onto the wall. Instead, reload the roller more often and let the sleeve do the work.
Avoiding Roller Marks On Ceilings
Ceilings are a whole different animal. The angle of the light makes marks more visible, and working overhead is exhausting.
Good light aimed at the ceiling shows where the paint is going and helps you spot missed spots before they dry.
Rolling towards the natural light source, usually a window, makes the lines disappear. Long, continuous strokes help blend the sections.
Ceilings also benefit from rollers that hold more paint, so you don’t have to make as many trips to the scuttle.
Edges are tough. Cutting in with a brush and then blending quickly with the roller avoids the flashing where the brush and roller meet. It’s best to do both together rather than letting the cut-in dry before you roll.
Drying Times, Conditions, And Paint Application
Paint behaves differently depending on the environment. UK homes can be draughty in winter and humid in summer, both of which affect drying. Ideal conditions are moderate, around 10–20°C, with good ventilation but no strong draughts.
Direct sunlight should be avoided; it dries paint too quickly, locking in roller marks before blending is possible.
Two thin, properly dried coats always outperform one heavy coat. Rushing coats or recoating too soon creates uneven sheen and visible lines.
Some decorators even change direction between coats, vertical strokes on the first, horizontal on the second, to disguise any faint marks that remain.
Common Mistakes And How To Fix Them
Overloading the roller creates drips and thick edges, underloading leaves streaks. Both show up once dry. Stretching paint too far across a big area saves time but costs in finish quality.
Stopping mid-wall to take a break is a risk. The join between the dry and wet areas always shows up. Rolling back over a section that’s started to tack off leaves roller tracks that won’t blend in.
Fixes depend on severity. Light ridges can be feathered with fine sandpaper once dry. More obvious marks need another thin coat, applied correctly.
Pro-Level Tips For A Flawless Finish
Professionals often decant paint into larger scuttles for consistent roller loading, paired with a grid for even coverage. Some add a paint conditioner—like Floetrol—to extend drying time, giving more working time to maintain a wet edge.
In bigger rooms, a two-person system works wonders: one decorator cuts in, the other follows immediately with the roller. It keeps edges fresh and seamless.
And here’s a small but effective trick: wiping roller edges with a damp cloth during the job prevents dried paint from creating faint tramlines at the edges of each pass.
Practical Advice For DIY Homeowners Vs. Hiring A Pro
For most rooms, careful DIY with the right gear delivers professional-looking results. Patience and preparation are worth more than brute effort.
That said, there are times when hiring a professional decorator is the smarter choice. High ceilings, awkward stairwells, or heritage properties with delicate plasterwork demand experience, speed, and specialist tools.
What seems like a money-saving DIY job can quickly turn into a costly redo if roller marks are baked into multiple coats.
Learning Tools For Tradespeople
For those in the decorating and wider trades, simulation apps like Tradefox offer a way to practise techniques safely.
While painting may not carry the risks of electricity or gas, the same principle applies, building confidence in controlled conditions sharpens real-world performance and avoids rookie mistakes.
Conclusion
Roller marks may be a common complaint, but they’re far from inevitable. With the right preparation, quality tools, and disciplined rolling technique, any wall or ceiling can be left looking sharp and seamless.
It comes down to respecting the process: clean surfaces, controlled conditions, and steady, consistent strokes.
Whether tackling a small bedroom or an entire house, avoiding roller marks isn’t about luck, it’s about working like the professionals do.
And once mastered, that flawless finish transforms more than just the paintwork, it lifts the whole room.