Gas safety isn’t a nice to have in the UK; it’s a legal requirement. Every year, incidents caused by leaks remind us why checks and procedures aren’t optional.
Among these, the gas-tightness test is key. It’s the test that tells an engineer if a system of pipework is sound, safe, and fit for purpose.
Whether it’s a new supply or an old domestic meter, this simple but strict test can be the difference between being reassured and needing immediate remedial work.
What Is A Gas Tightness Test?
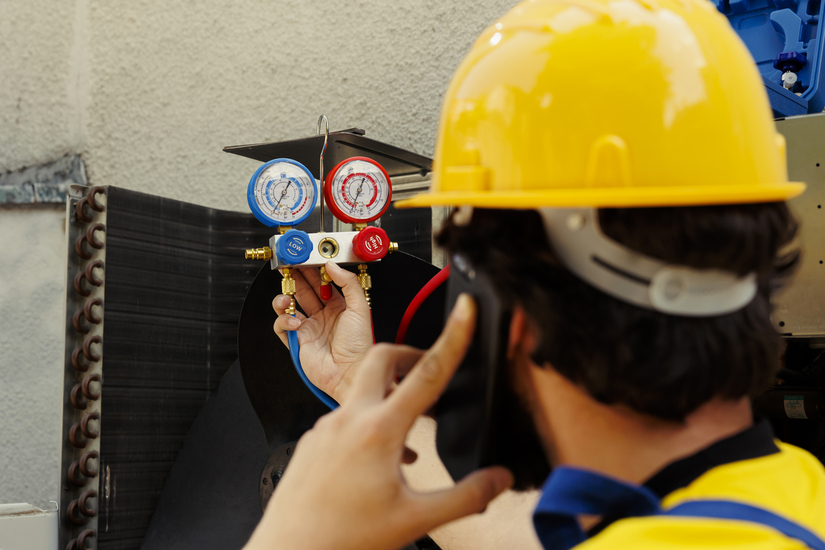
At its heart, a gas tightness test is a pressure test. It checks that the pipework and joints can hold gas without leaking. In the UK, the test is done at the meter using either a traditional U-gauge manometer or a digital equivalent.
The test isn’t just for one scenario. Engineers do it after new pipework is fitted, when existing pipework has been altered, or if there’s suspicion of a leak.
Landlords also use it during annual safety checks, as part of their legal requirement under the Gas Safety (Installation and Use) Regulations 1998.
What’s unique about the UK approach is the use of industry-standard procedures. The Institute of Gas Engineers and Managers (IGEM) publishes guidance, IGE/UP/1 and IGE/UP/1A, which sets out how tests should be carried out. For domestic work, the shorter UP/1A procedure applies.
Equipment And Preparation
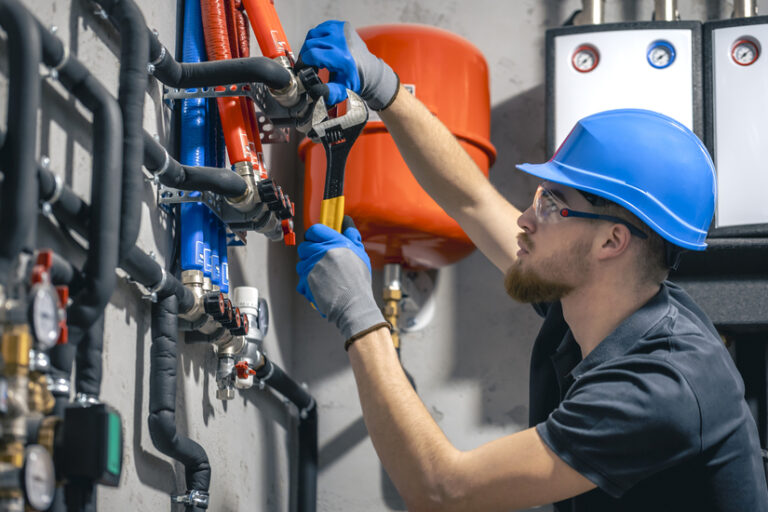
A tightness test relies as much on preparation as it does on the test itself. Engineers start by gathering the basics: a manometer, test nipple adaptors, the right spanners, and leak detection fluid as a backup tool.
Before a reading is ever taken, appliances are isolated, pilot lights extinguished, and the environment is checked for safety, ventilation matters, and naked flames have no place near testing.
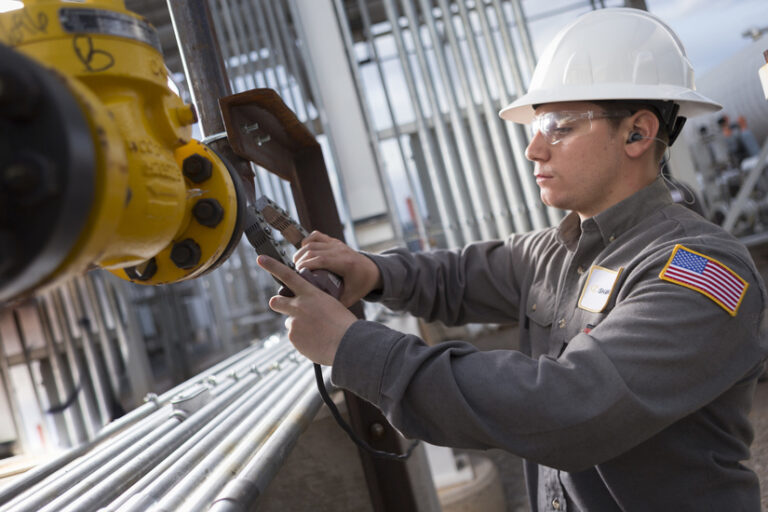
The standing pressure at the meter is usually taken first, so you have a benchmark for what “normal” looks like on that supply.
And one important detail: competence. UK law requires anyone doing this test to be Gas Safe registered. No exceptions, no grey areas. It’s not just technical skill, it’s legal compliance.
Test Procedure Step By Step
Many homeowners imagine a quick glance at a gauge, but a professional tightness test is more structured than that. It starts with a let-by test. This checks the emergency control valve itself for leaks, if that valve can’t hold back gas, nothing else downstream matters.
Once let-by is confirmed, the engineer will move to either a strength test (for brand new pipework, to ensure joints and fittings can withstand pressure) or a tightness test (for existing pipework).
For a domestic supply, the system is pressurised usually around 20 mbar, and the gauge is monitored for a set period.
The length of time depends on installation volume, but for most households it’s one to two minutes. The engineer records the initial and final readings carefully, looking for any drop.
The test doesn’t end when the timer does. Engineers allow gauges to settle, double-check connections, and, in some cases, repeat sections to rule out anomalies. It’s methodical work, and small lapses in timing or reading can lead to false conclusions.
Pass Or Fail Criteria
So what is success? A pass is when the pressure has remained steady within the tolerance set out in IGE/UP/1A. For small domestic installations, pipework with an internal volume under 0.035 cubic metres, the expectation is simple: no drop on the manometer.
Larger domestic pipework allows some tolerance. A 1 mbar drop is acceptable in some cases, as long as there’s no other evidence of leaks.
But here’s the non-negotiable: if you can smell gas or see bubbles when leak detection fluid is applied, it’s a fail regardless of the numbers.
A fail means the system can’t be reinstated until further checks and repairs are done. Engineers won’t and can’t leave an unsafe installation live.
Allowable Pressure Drops
Not all pressure changes are bad. A small movement on a manometer can be caused by temperature fluctuation, a draught moving liquid in a U-gauge, or even the elasticity of the gauge’s own tubing. Engineers allow for these factors when deciding if a reading is meaningful.
For a typical domestic system, the rule of thumb is simple: either no movement or at most 1 mbar drop over the test duration, depending on system size.
Commercial and industrial systems, operating at higher pressures with larger volumes, require longer test periods and different tolerances, but the principle is the same, distinguish a natural fluctuation from a real leak.
That’s why the guidance documents matter. They provide the tables and thresholds that prevent guesswork, so every engineer is working from the same, safety-first page.
Common Pitfalls And Mistakes
Even the experts can trip up if they rush. A common mistake is to forget the let-by test. Without it, a faulty emergency control valve can mimic a leak downstream and waste time and cause unnecessary work.
Another trap is poor manometer use. Gauges need to be left to settle, and even how a U-gauge is read, eye level, no parallax error, makes a difference. Rushed readings or misreading the scale introduces doubt.
Then there are procedural errors: appliances connected incorrectly, a tightness test confused with a strength test, or not isolating sections properly. Environmental factors play their part too.
A gust through a meter box can disturb a U-gauge, and a hot day can shift readings faster than expected.
And the biggest pitfall of all: DIY attempts. Not only is it illegal without Gas Safe registration, but it is also deeply unsafe.
Consequences Of Failing A Tightness Test

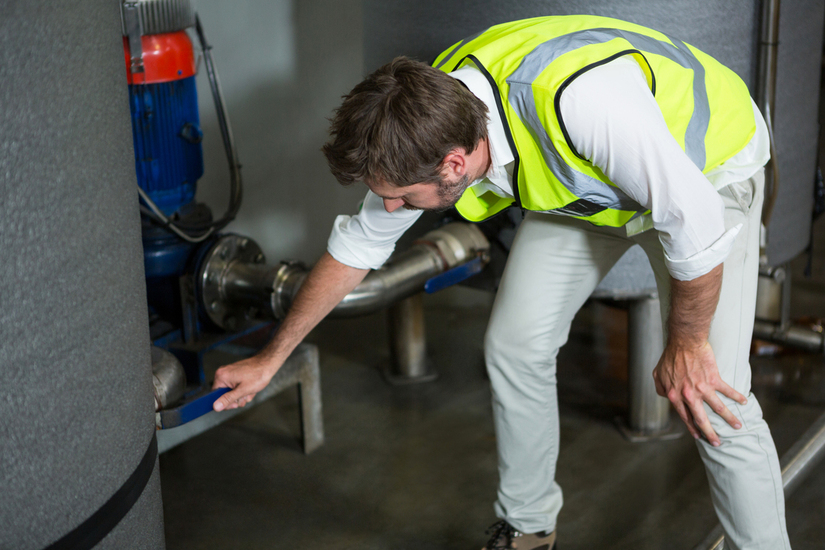
Failure isn’t theoretical. If a test shows a drop outside allowable limits or if leaks are detected, the system is deemed unsafe. Depending on the risk level, it may be classified as “At Risk” or “Immediately Dangerous.”
At that point, the engineer must act. Gas cannot be reinstated until faults are traced and repaired. Leak detection fluid, electronic sniffers, or section isolation methods are then used to track the problem.
Under the Gas Industry Unsafe Situations Procedure (GIUSP), engineers also have a duty to record and, if necessary, report the issue. Compliance isn’t optional; it’s enforceable.
Practical Advice For Homeowners
For homeowners, the key takeaway is simple: don’t attempt this yourself. Gas work is legally restricted for good reason.
The risks of leaks, explosions, or carbon monoxide poisoning are far greater than any perceived savings from DIY tinkering.
Instead, keep on top of routine safety. Arrange annual services, and if you’re a landlord, ensure your Gas Safety Certificate is renewed every year.
Be aware of warning signs: a lingering smell of gas, flames burning yellow instead of blue, or unexplained spikes in gas bills.
And in emergencies, don’t hesitate. Call the National Gas Emergency Service on 0800 111 999, day or night.
Learning Tools For Tradespeople
For those in the trade, practice makes safe. Simulation tools like Tradefox allow electricians, plumbers, and gas engineers to hone their skills in a risk-free environment.
It’s a way to refine technique, troubleshoot scenarios, and avoid the very pitfalls that turn routine checks into hazards.
Conclusion
A gas tightness test might look simple, a gauge, a few readings, a pass or fail. But behind it lies a framework of regulation, precision, and responsibility.
Done right, it proves an installation is safe and fit for purpose. Done wrong, it leaves hazards lurking unseen.
The criteria are clear: minimal or no pressure drop, no signs of leaks, and absolute compliance with industry standards.
By understanding the procedure, the pitfalls, and the consequences, both engineers and homeowners can appreciate its importance.
At the end of the day, the test isn’t just about numbers on a manometer, it’s about ensuring every flame lit in a UK home is a safe one.