Radiators don’t usually get noticed until they start spoiling a freshly painted room.
Flaking paint, rust spots, or that off-white tone that’s turned nicotine yellow over time… it all stands out once the rest of the space looks sharp.
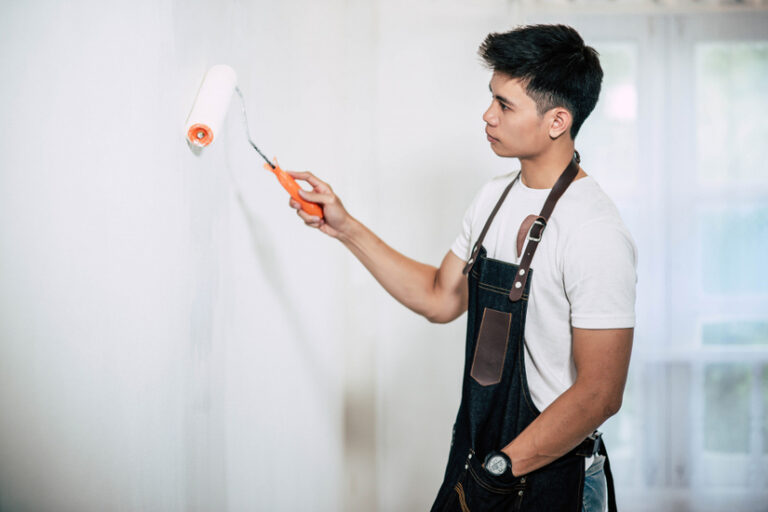
Painting a radiator isn’t hard, but there’s an art to it. Too many DIYers slap on a coat of gloss and call it done, only to see peeling or yellowing within months.
With the right prep, primer, and topcoat, you can give a radiator a smooth, durable finish that’ll outlast most wall colours around it.
Why Paint A Radiator At All?
A tidy radiator lifts a room. It’s as simple as that.
Beyond looks, paint also seals small areas of exposed metal, slows down rust and moisture damage.
Contrary to what you sometimes hear online, a correctly painted radiator won’t noticeably reduce heat output, the difference is marginal at best.
For landlords, decorators, or anyone flipping a property, a freshly coated radiator says you care and you’re complete. It’s one of those small jobs that adds big polish.
What You’ll Need
You won’t need much, but skimping on materials can ruin the finish. Gather:
- Fine-grit sandpaper or sanding sponge
- Sugar soap or mild degreaser
- Dust sheets and masking tape
- Metal primer (look for rust-inhibiting types)
- Radiator paint or heat-resistant metal enamel
- Small roller or angled brush
- Radiator key (handy if you plan to remove or bleed it)
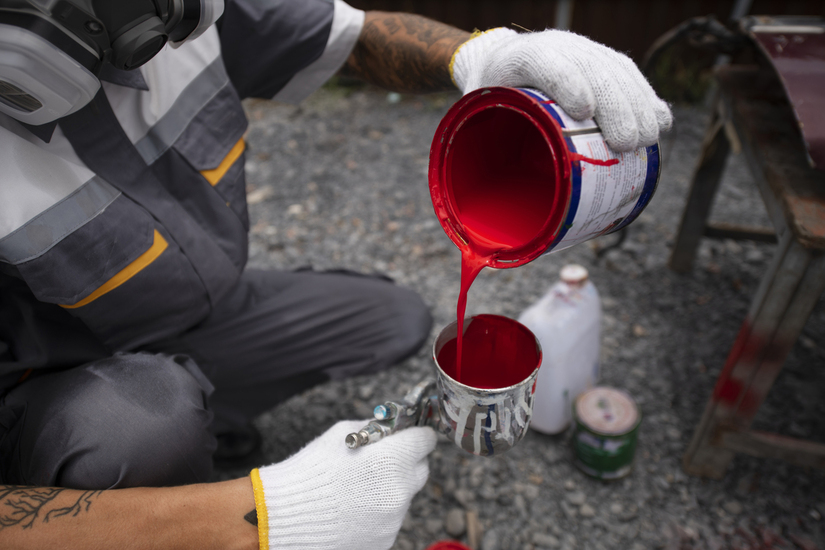
Quality matters here. A litre tin of Dulux Trade Satinwood or Hammerite Radiator Enamel will go further and last longer than budget options.
Step 1: Switch Off And Cool Down
Never paint a warm radiator. The heat makes paint sticky and impossible to level.
Switch off the central heating and let the radiator cool completely, ideally for a few hours.
If you’re doing a full room job, paint the radiator last, once everything else is dry and dust-free.
Step 2: Clean And Degrease
Radiators collect loads of grease, especially in kitchens and hallways. Mix up warm water with a bit of sugar soap, then wipe the whole surface down.
Rinse with clean water and dry with a lint-free cloth. If there’s any wax residue left, the primer won’t stick. A clean surface is half the battle
Step 3: Sand And Remove Loose Paint
Now comes the bit that separates a good job from a quick fix. Check for peeling or bubbled paint, these areas need to be smoothed. Use fine sandpaper (around 180-240 grit) and feather the edges until everything feels even to the touch.
If you hit bare metal or rust, sand until you get to solid material. For heavy corrosion, a wire brush attachment on a drill saves time.
Wipe away dust with a damp cloth. Don’t rush this. Any grit left behind will ruin your brushwork later.
Step 4: Protect Walls And Floors
Professionals spend as much time prepping the area as they do painting. Lay down dust sheets, tape along the skirting, and mask valves or pipework.
A simple trick, wrap the valve base with cling film for a clean line that won’t peel off paint later. Good lighting helps too; sidelight from a lamp shows runs before they dry.
Step 5: Prime The Metal
Bare patches or rusted spots need primer before topcoating. It gives grip and prevents oxidation.
Use a metal-specific primer such as Zinsser Bulls Eye or Hammerite Special Metals Primer. Stir well and apply a thin, even coat.
Avoid over-brushing; let the primer level itself. Most take about 4–6 hours to dry, but check the tin, cooler rooms can double that time.
If you’ve stripped a whole radiator, prime it all. Otherwise, touching in bare spots is fine. The key is full coverage where metal shows through.
Step 6: Choose The Right Topcoat
This is where most DIY attempts falter. Ordinary wall or wood paint isn’t designed for metal that heats up. It softens, yellows, or cracks.
Go for a heat-resistant radiator paint or metal enamel rated to at least 80°C.
UK decorators often reach for:
- Hammerite Radiator Paint (White Satin or Gloss) – smooth, low odour, heat-resistant.
- Dulux Trade Satinwood – tough alkyd with good flow.
- Crown Quick Dry Radiator Paint – water-based and fast curing.
Pick a finish that suits your space: Gloss for traditional shine, satin for subtle elegance, or matte for a modern, understated look.
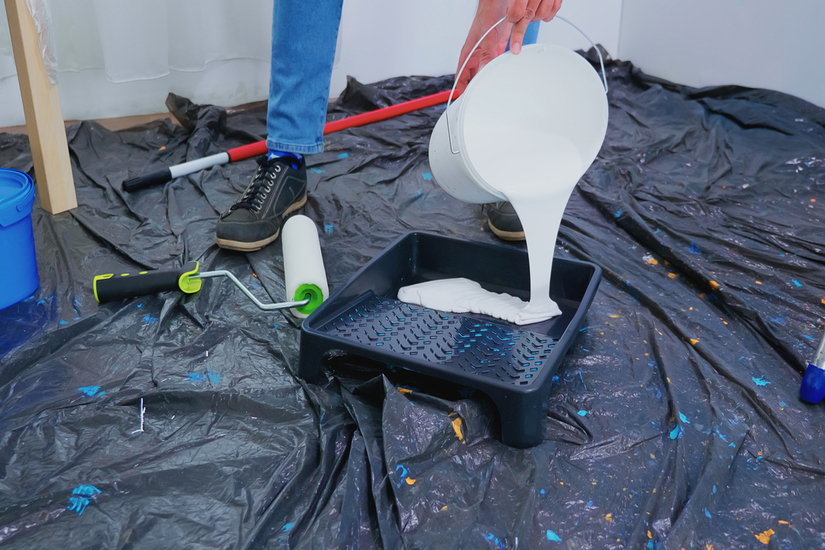
Step 7: Apply The Paint
Stir thoroughly, metal paints settle heavily. Start with edges, valves, and the rear sections using an angled brush. Then move to the front panels with a small foam roller.
Apply two thin coats rather than one thick layer. The first coat should look a bit streaky, that’s fine. Thick paint traps air bubbles and will sag as it dries.
Allow the first coat to dry completely (usually four to eight hours) before adding the second. Check occasionally from different angles for drips; you can still smooth them out while wet.
If you’re going for an ultra-smooth finish, lightly sand between coats once the first has cured.
Step 8: Let It Cure
After the final coat, patience pays. Leave the radiator untouched for at least 24 hours. Then gently reintroduce heat, turn the valve halfway for a low setting first.
Sudden heat can cause blistering or fine cracks, especially with solvent-based paints. Once cured, the surface should feel hard and even, not tacky.
Step 9: Optional: Painting Behind The Radiator
If you’re redecorating the entire room, you might want to go the extra mile. Painting the wall behind a radiator makes a visible difference in bright spaces.
To do it properly:
- Turn off both valves.
- Use a radiator key to bleed and drain the water into a tray.
- Lift the radiator slightly off its brackets (a two-person job is best).
- Plug the ends with cloths to avoid drips.
- Paint the wall, let it dry, then refit and refill the radiator.
Always bleed it again once it’s back in place. And yes, keep old towels handy; it’s never a dry process.
Step 10: Common Mistakes To Avoid
Even careful DIYers fall into a few traps:
- Painting while the radiator’s still warm.
- Skipping primer on exposed spots.
- Using normal emulsion or wall paint.
- Applying paint too thickly.
- Recoating before the first layer is cured.
- Forgetting to test valves for leaks afterwards.
Each of these shortens the life of your finish. Professionals keep it thin, clean, and methodical.
Pro Tips For A Factory-Smooth Finish
There’s a reason trade decorators get that showroom look. A few quiet habits make all the difference:
- Sand lightly between coats with 240-grit paper.
- Wipe away dust before recoating.
- Keep the room temperature between 15°C and 25°C, cooler paint drags, hotter paint flashes off too quickly.
- For a near-spray finish, use a mini foam roller and tip off gently with a dry brush.
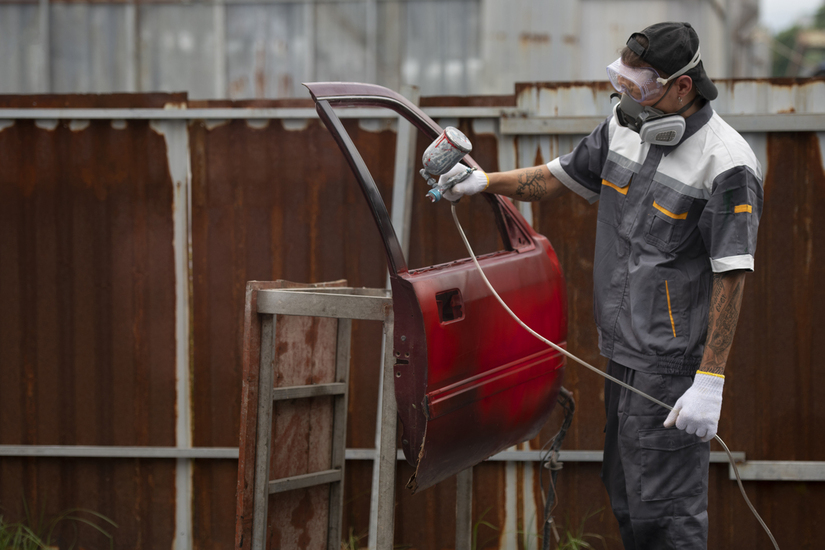
- If you’ve got the gear, spraying is ideal, just make sure the paint’s heat-resistant and you’re masking well.
Training Without The Risk
If you’re in the trades, a decorator, a maintenance tech, or even an apprentice, repetition builds skill. But practising on live systems or expensive jobs can be risky.
That’s where Tradefox comes in. It’s a realistic simulation app built for UK tradespeople to practise techniques, from painting prep to electrical safety checks, without real-world hazards or wasted materials.
For those honing their craft, it’s a smart way to build muscle memory before touching an actual site job.
Conclusion
Painting a radiator isn’t glamorous work, but it’s satisfying. Done right, it blends the line between DIY and professional finish, no drips, no yellowing, no shortcuts.
Take your time with each stage: degrease, sand, prime, and coat thinly. It’s the prep that gives you that even sheen and long-lasting durability.
When the heating comes back on and you see that smooth surface gleam under the light, it’s hard not to feel a bit proud.
Small effort. Big difference.