Most folks glance at a wall and think, “It’s just plaster.” Flat, white, background noise to the real architectural show. You may not know this but that “just plaster” has been holding buildings together for centuries.
In the UK, particularly, where we’re surrounded by Victorian terraces, Georgian gems, and Edwardian townhouses, historic plaster is more than cosmetic, it’s a key part of the structural elements of a building.
Yet it’s often misunderstood, over-patched, or worse, ripped out entirely when it shows wear. Before you fix plaster, it pays to understand what it’s doing behind the scenes, how it can fail, and the proper way to restore it.
Whether you’re a builder, restorer, or homeowner, this article lays out the full story.
Plaster’s Structural Role: Not Just A Pretty Surface
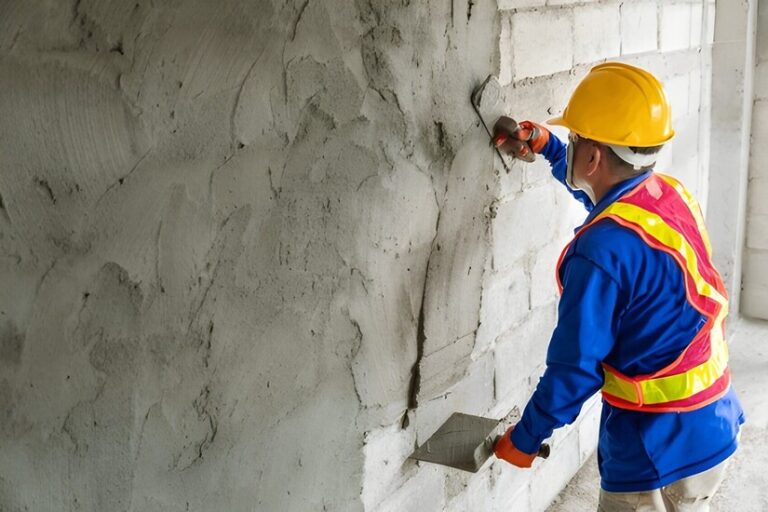
Let’s clear something up right away: plaster is not just a finish. In traditional builds, it reinforces, protects, and breathes.
Think of it like skin on a body. Sure, it smooths things out, but it also keeps harmful moisture at bay, regulates temperature, and even shields against fire. Here’s how:
1. Shear Strength In Timber-Framed Buildings
In older British homes, wood lath and lime plaster systems were a clever solution for structural stability.
Plaster added rigidity to otherwise flexible timber frameworks. It essentially acted as a diaphragm, absorbing lateral loads and reducing racking.
2. Fire Protection
Lime and gypsum both act as passive fire barriers. Gypsum contains chemically bound water, which slows fire spread. Lime, thanks to its non-combustible nature, holds up impressively under heat stress, critical in old buildings without modern fire stopping.
3. Breathability And Moisture Control
Modern cement traps water. Lime plaster doesn’t. It breathes, letting moisture move in and out of walls. This is essential in solid-wall properties (no cavity), where impermeable materials can rot a building from within.
4. Acoustic & Thermal Buffer
Thicker plaster surfaces provide sound dampening and help regulate internal temperature. In heritage properties, this matters, not just for comfort, but also for preservation.
How Plaster Fails: Cracks, Delamination, And The Hidden Problems
Even the best plaster has a shelf life. When things go wrong, it’s rarely about the surface alone. The key is to spot whether the problem is just cosmetic or points to a deeper structural issue. Let’s walk through the major failure modes.
1. Cracks In Plaster Walls
Cracks come in all flavors:
- Hairline cracks often follow drying or minor shrinkage.
- Diagonal or stepped cracks? That’s a red flag for structural movement, maybe foundation shifts or roof spread.
- Spider web cracks in the finish coat? Usually surface-deep, often due to poor curing or weak mix.
Want to know the difference? Run a coin over the crack. Hollow sound = potential loose plaster underneath.
2. Delamination And Blown Plaster
Plaster detaching from the substrate is common in damp areas, near chimneys, bathrooms, or behind furniture. You tap it, and it sounds like tapping a melon. The usual culprits?
- Moisture ingress (rising or penetrating)
- Salt migration is pushing the layers apart
- Using a modern coat of joint compound over old lime plaster, it just doesn't bond well
3. Damp-Related Damage
Water is plaster’s biggest enemy. UK homes, especially older ones, suffer due to:
- Rising damp from untreated brickwork
- Penetrating damp through leaky gutters or pointing
- Condensation from poor ventilation
Moisture doesn’t just cause staining. It disrupts the plaster matrix, brings salts to the surface, and eventually causes disintegration. That flaking, crumbling mess you see near skirting boards? Not just ugly, it’s symptomatic of deeper issues.
4. Mechanical Damage
From furniture bumps to tradesmen wall-chasing pipes, plaster takes abuse. When not patched correctly, these repair projects often lead to further cracking, especially if high spots are left unskimmed or inappropriate fillers are used.
5. Material Incompatibility
This is a silent killer of historic plaster. Someone uses cement render or modern filler on an old lime base. Looks solid at first. But over time, moisture gets trapped, salts build, and then, you guessed it, damaged plaster everywhere.
Restoration Techniques That Respect The Craft (And The Building)
Restoring plaster isn’t about hiding problems, it’s about solving them at the root. Whether you’re touching up a hallway or reviving a listed building, these techniques prioritise long-term structural integrity and authenticity.
1. First: Diagnose The Problem Properly
Don’t jump to slap on a coat of joint compound. Start with:
- Moisture meter readings
- Visual inspection for salts
- Hammer tap testing for hollowness
- Hairline or gap measurement to gauge movement
Sometimes it’s just cracked paint. Sometimes it’s movement that calls for a structural engineer. Know the difference.
2. Repair Cracks The Right Way
- Open them up into a V shape
- Brush out dust and inject a bonding agent if needed
- Use the right filler: lime putty or a compatible flexible compound
- Apply in thin layers, let each layer cure
And please, don’t skim over movement cracks with joint compound alone. It won’t last the season.
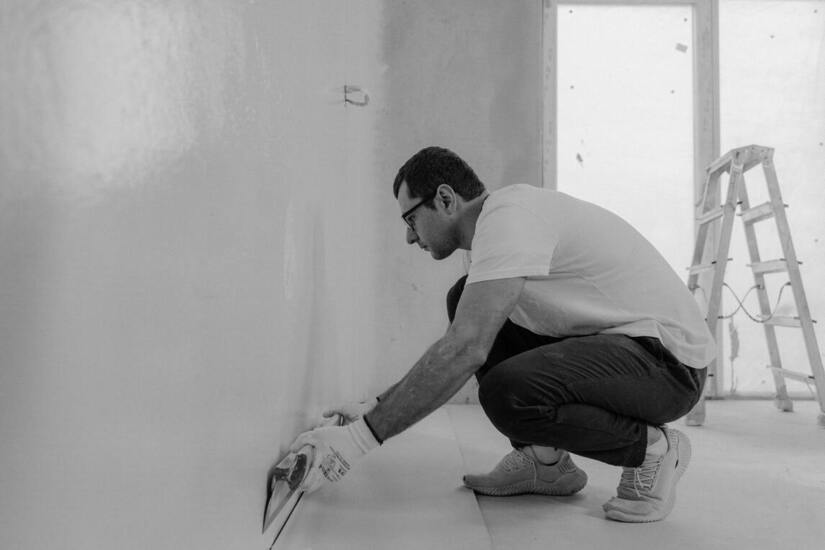
3. Fix Plaster Without Losing The Original Character
For localised repair:
- Feather out the edges to avoid “high spots.”
- Match the aggregate and texture to blend in
- Use a fine finish coat with lime or gypsum to replicate the existing sheen
For larger repairs or missing sections:
- Replace wood lath if it’s gone (or use expanded metal lath where discreet)
- Apply a three-coat system: scratch coat, float, and finish coat
- Let each layer cure naturally. No shortcuts with dehumidifiers.
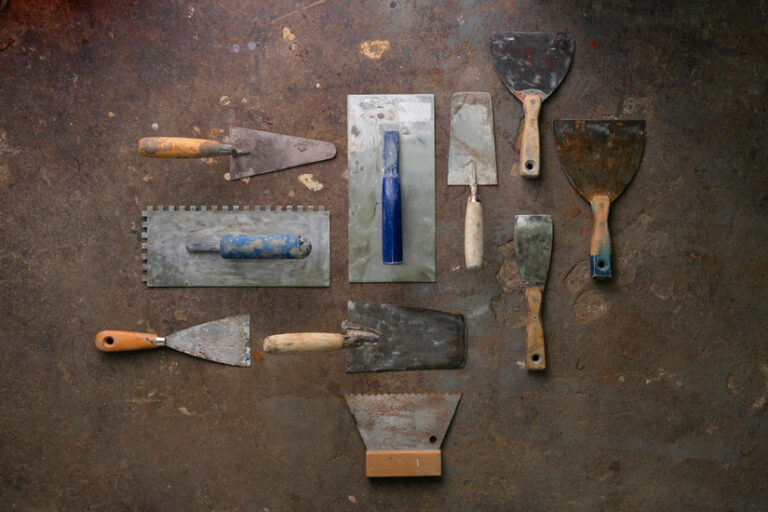
4. Use The Right Building Materials
In heritage work, always match or improve upon the original spec:
- Lime plaster for breathability
- Hair lime for flexibility and strength
- Breathable finishes like limewash or clay paints
Avoid:
- Cement render (too rigid)
- Vinyl paint (traps moisture)
- Polyfilla or gypsum skim on lime (they’ll fail early)
5. Full Reinstatement Vs Spot Repair
When over 30-40% of the plaster is gone or blown, bite the bullet, do a full panel restoration. Trying to patch too many spots leaves a Frankenstein wall that won’t hold up. Think long-term.
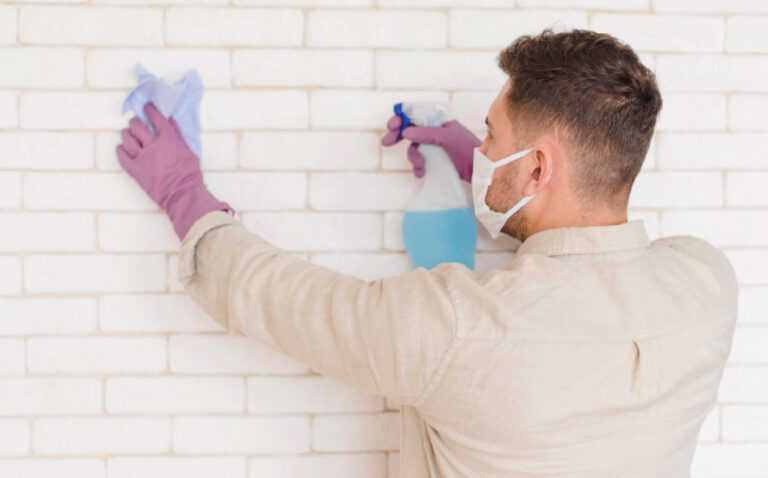
Prevent Future Failures: Maintenance Tips That Work
Want to avoid repeated repair projects? Keep your plaster in good shape with these habits:
- Ventilation is your first line of defence: kitchens, bathrooms, and even behind wardrobes.
- Check for leaks or damp patches every 6 months, gutters, roofs, and flashing.
- Repaint with breathable finishes. Never seal with vinyls or acrylics.
- Don’t mount shelves, TVs, or cabinets without checking for loose plaster first.
- If you spot a crack, inspect it. Monitor it. Catch it before it spreads.
A Word On Modern Alternatives
Not every wall needs a heritage approach. If you’re working on extensions, garages, or internal partitions, gypsum plaster is fine. It’s quick, cheap, and smooth. But don’t use it on walls that need to breathe.
And always apply it correctly, base, bonding, and finish coats must be layered and dried properly.
One Tool That’s Worth Trying
Whether you’re new to restoration or want to sharpen your trade instincts, check out Tradefox. It’s a smart simulation app for electricians, plasterers, plumbers, and more, perfect for refining your skills before the trowel hits the wall.
It’s like a practice ground without the risk of botching someone’s sitting room.
Final Thoughts
Plaster is not just filler between bricks and beams, it’s a craft that bridges structure and style. Done right, it preserves buildings.
Done wrong, it accelerates their decay.
Whether you’re patching up a Victorian parlour or prepping a loft conversion, understanding the structural roles of plaster walls and how to repair cracks, reinforce loose plaster, and match your building materials properly will save you time, money, and your reputation.
Take your time. Use the right methods. And remember, every wall tells a story, you’re just helping it age gracefully.