A freshly decorated room lives or dies by the smoothness of its walls. Even the most expensive paint can’t disguise rough plaster or uneven surfaces.
This is where the choice between skimming and re-plastering comes in. On paper, they sound similar, both involve plaster and both aim for a neat finish. In reality, they’re quite different in scope, cost, and outcome.
For homeowners across the UK, the dilemma often arises during renovations: is it enough to skim over what’s already there, or is a full re-plaster job unavoidable?
Get it wrong, and you may spend twice, either fixing poor results or starting again. This guide breaks down exactly what skimming is, when to consider re-plastering instead, what you should expect to pay, and the mistakes that trip people up.
What Is Skimming?
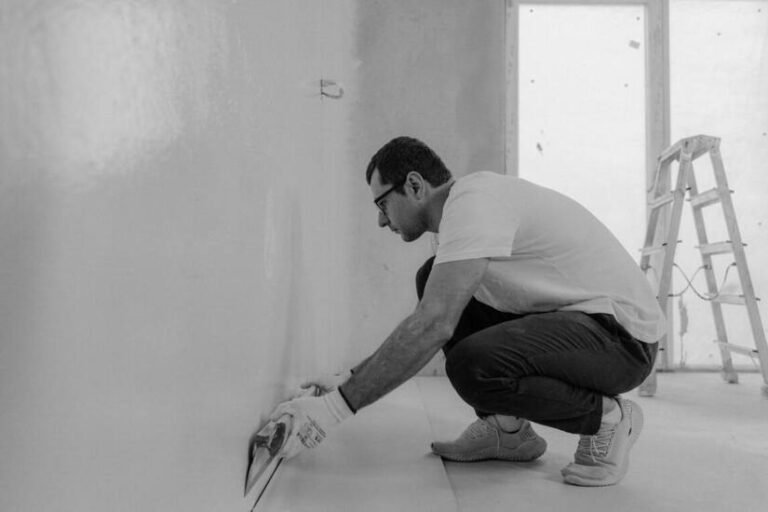
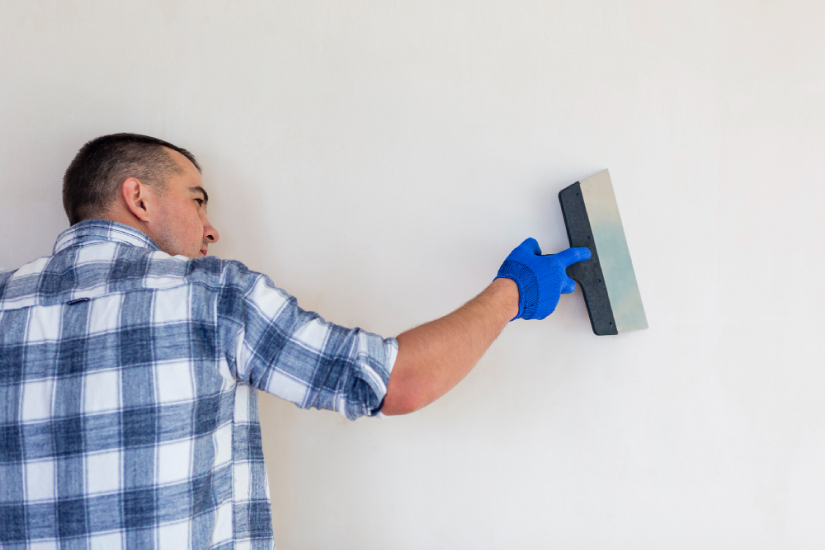
Skimming is essentially giving a tired wall a new skin. A thin coat of finishing plaster, usually around 2–3mm thick, is spread over existing plaster or plasterboard.
When done properly, it dries to a smooth, hard surface that’s ready for painting or wallpaper.
It’s particularly useful where the underlying plaster is mostly sound but a bit shabby, say hairline cracks, minor surface imperfections, or an old textured ceiling that’s been scraped back. Importantly, skimming isn’t a cure-all.
If the plaster beneath is loose, damp, or blown, covering it with fresh plaster won’t magically hold it together.
What Is Re Plasting?
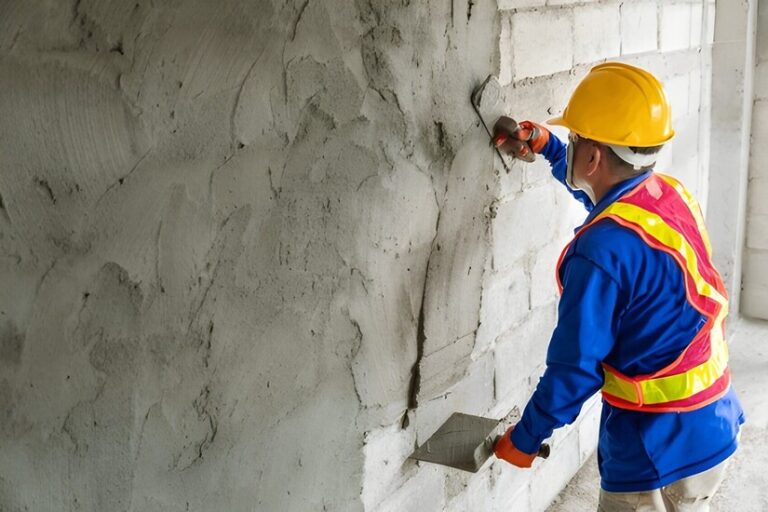
Re-plastering is a whole different ball game. It means stripping back the old plaster to the brick or blockwork, applying a base coat (often a bonding or backing plaster) and then a skim coat.
It’s heavier work, more disruptive and takes longer to dry because you’re rebuilding the whole system rather than just touching up the surface.
Re-plastering is usually necessary when walls are in a bad way: plaster has blown off the substrate, damp has left sections crumbling or old lime plaster has deteriorated beyond repair.
In heritage homes re-plastering may also involve using traditional lime plasters rather than modern gypsum so the walls can breathe.
Skim Vs. Re-Plaster: How To Decide?
So when do you skim, and when do you bite the bullet with a re-plaster?
It’s largely down to the state of what’s there. If the plaster is generally sound with only minor cracking or a tired finish, skimming will get it looking like new quickly and cheaply. It’s also the go to for modernising surfaces before decorating.
But if the plaster sounds hollow when tapped, crumbles at the edges or shows signs of damp, re-plastering is the safer option.
Covering bad plaster with a skim is like painting over rust, it hides the problem for now but it will resurface.
Other factors come into play too. Age of property for instance. Victorian and Edwardian homes used lime plaster which behaves differently to modern gypsum.
Trying to skim over unstable lime can end badly without specialist prep. Budget and timescale also come into play, skimming is quicker and cheaper, re-plastering is longer lasting but more expensive.
Think of it like patching an old road. Sometimes a fresh layer of tarmac (skimming) is fine. Other times the foundations are crumbling and you need to dig it out properly (re-plastering).
Typical Costs In The UK (2025)
Costs are where many homeowners get a shock. Prices vary across the UK, with London and the South East commanding higher rates, but some ballpark figures can help.
- Skimming walls : Expect around £8–£15 per square metre. A small bedroom might cost £300–£500 to skim, while a larger living room could be £600–£900.
- Ceilings : Slightly more per square metre, as overhead work is trickier, often £200–£400 for an average-sized ceiling.
- Full re-plastering : £20–£30 per square metre. Re-plastering an entire medium-sized room (walls and ceiling) might run £1,000–£1,500.
Several factors shift these numbers. Higher ceilings, awkward alcoves, or very rough walls mean more labour. Materials aren’t the biggest cost, labour is, but they still add up, especially for larger jobs.
VAT is another consideration; many sole traders may not charge it, but established firms often do.
It’s worth noting that hiring a qualified plasterer is almost always cheaper in the long run. A poor DIY skim can lead to cracks, hollows, or peeling, and the cost of putting it right easily overtakes what hiring a pro would have cost in the first place.
Process Of Skimming Walls

So what does a proper skim job involve? At a high level, the process runs like this:
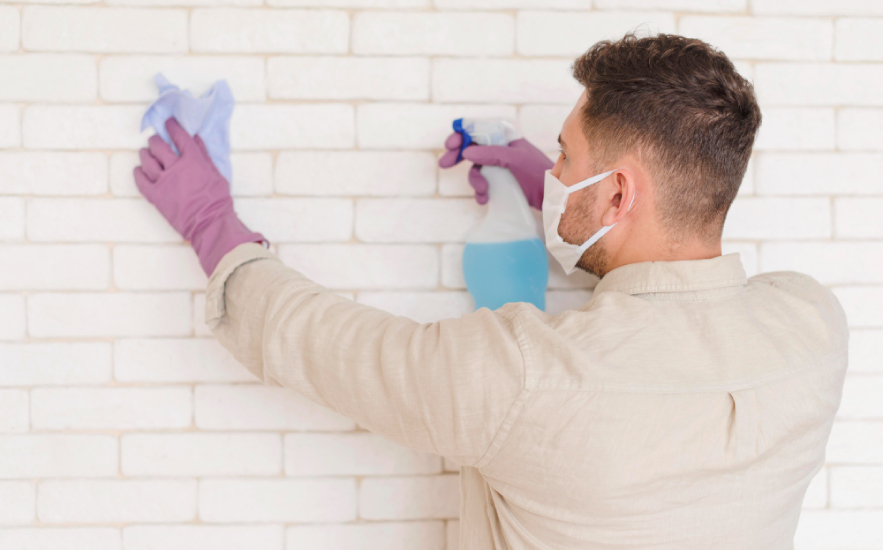
Preparation is half the battle. Walls must be cleaned of dust and grease, and often coated with a diluted PVA adhesive to ensure the new plaster bonds properly. Miss this step, and plaster can literally slide off.
The plaster itself is mixed to a creamy consistency, not too watery and not too stiff. Application is done in two passes: the first coat spreads evenly to fill imperfections, the second smooths and polishes the surface.
Timing is crucial, too soon and the first coat mixes with the second, too late and it sets too hard to blend.
Once applied, the plaster needs to dry. A skim coat may look set within a day, but it takes at least a week or more to fully cure depending on room temperature and airflow. Painting too early is a classic error.
The surface should first be mist-coated with watered-down emulsion to seal it before full decorating
Common Pitfalls And Mistakes
Even seasoned DIYers can come unstuck with plastering. Some of the most common missteps include:
- Skimming over damp plaster : Moisture eventually breaks through, ruining the finish.
- Poor surface prep : Dusty or greasy walls stop plaster bonding, leading to peeling.
- Painting too early : Traps moisture, causing bubbling and flaking.
- Over-trowelling : Working the plaster for too long leaves a shiny surface that paint won’t grip to.
There’s also the temptation to think a bad wall can always be rescued with a skim. If plaster is loose, hollow, or crumbling, a thin skim won’t solve it, it’ll just fail faster.
DIY skimming is another minefield. While small repairs are manageable, whole walls are unforgiving.
Visible trowel marks, uneven edges, or inconsistent thickness are common results. The problem is that plaster sets quickly, leaving little time to correct mistakes.
Fixing a poor skim often means stripping it back and starting again, doubling the cost.
When To Call A Professional Plasterer
For straightforward cosmetic jobs, a confident DIYer might attempt a small skim. But large walls, ceilings, or entire rooms are best left to professionals.
The skill lies not just in applying plaster, but in judging conditions, when to use bonding agents, when surfaces are too far gone, and how to finish seamlessly.
In heritage properties, professional input is vital. Lime plaster needs specific handling, and mistakes can trap moisture, damaging walls in the long term. In short: if in doubt, or if the job is more than a patch or two, it’s wise to get a plasterer in.+
Tools And Resources For Tradespeople
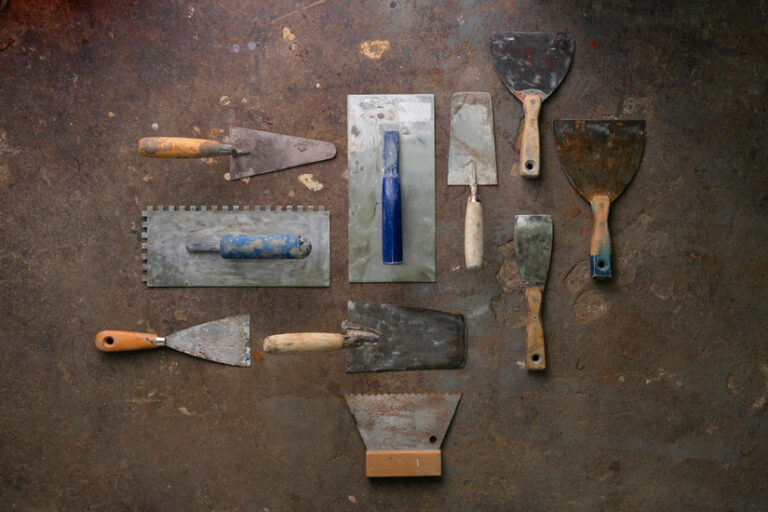
For those in the trade, or training to be, having the right tools is non-negotiable. A decent plastering trowel, hawk, mixing bucket, and PVA are the basics. Beyond tools, practice is what separates clean, glass-smooth finishes from messy attempts.
That’s where platforms like Tradefox come into their own. It’s a simulation app built for tradespeople, including plasterers, to hone their skills in a safe environment. Mistakes cost nothing, and the techniques learned transfer directly to real jobs.
Conclusion
The choice between skimming and re-plastering boils down to one question: is the plaster beneath salvageable?
Skimming is quicker, cheaper, and perfect for refreshing surfaces that are basically sound. Re-plastering is slower and costlier, but essential when walls are beyond saving.
Costs vary, but the principles don’t, good prep, patience with drying times, and knowing when to bring in a pro are what deliver flawless results.
With the right approach, smooth, ready-to-decorate walls are within reach, whether the goal is a quick room refresh or a full-scale renovation.