



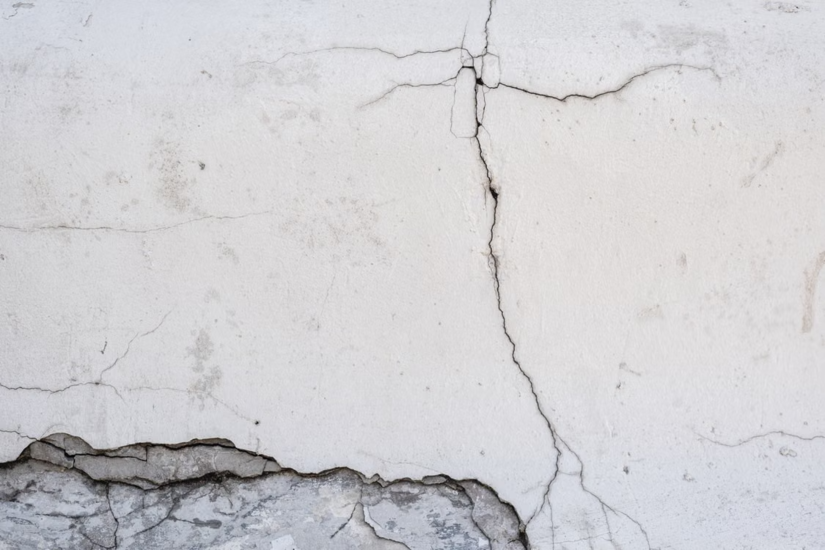
A crack in a brick wall is rarely just a crack. It’s a symptom. Fill it without working out why it opened up, and it comes back within a season or two, usually wider. Good wall crack repair starts with diagnosis, not a bag of mortar. This guide covers how to read cracks in brickwork, what tends to cause them, and the repair methods that hold, set against the UK standards you’re expected to work to.
Classify the crack before you touch it
Measure the crack and put a category on it before any repair. The trade works to BRE Digest 251, the Building Research Establishment’s damage scale drawn from a study of low-rise buildings. It grades cracking from 0 to 5:
- Category 0: Hairline cracks under 0.1mm. Negligible, no action needed.
- Category 1: Fine cracks up to 1mm, usually confined to internal finishes and treated with normal decoration.
- Category 2: Cracks up to 5mm that fill easily. Doors and windows might need easing.
- Category 3: Cracks of 5 to 15mm, or several around 3mm. These need opening up, repointing, and sometimes a few replaced bricks. Weather-tightness is often affected.
- Category 4: Cracks of 15 to 25mm. Sections of wall need breaking out and rebuilding, often over openings. Frames distort and floors slope.
- Category 5: Cracks over 25mm. Structural damage calling for major repair or partial rebuild.
Categories 0 to 2 are aesthetic. Categories 3 and 4 hit serviceability. Category 5 is a stability problem.
Width is a guide, not the whole answer. BRE Digest 251 grades by ease of repair, so several cracks, cracks over a lintel, or signs of ongoing movement can push damage into a higher band than width alone suggests. Anything from Category 4 up wants a structural engineer’s eyes before you commit to a method.
Types of cracks in brickwork and what they tell you
The pattern of a crack does half the diagnosis. Learn to read these four.
Vertical cracks
Straight vertical cracks running through bricks and perpends often point to thermal movement or a missing movement joint in a long run of masonry. Brickwork expands and contracts across the year, and if there’s nowhere for that to go, the wall finds its own release point. Movement joints in clay brickwork should sit no more than 12m apart, and up to 15m where the design gives enough restraint. Miss them, and vertical cracking is the result.
Diagonal and stepped cracks
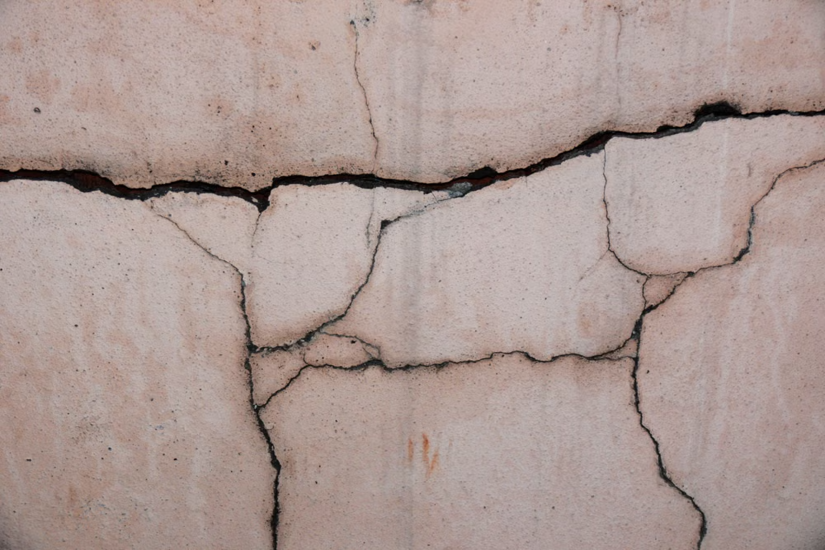
Stepped cracks that follow the mortar joints in a staircase pattern, usually near openings, are the classic signature of foundation movement. They taper, they cluster around windows and doors, and they widen at the top or bottom depending on where the ground is shifting. Subsidence and settlement show up like this.
Horizontal cracks
Horizontal cracking along the bed joints is the one to take seriously. In a cavity wall, cracks recurring every sixth course or so, roughly every 450mm, usually mean wall tie failure. As old galvanised ties corrode, the rust expands to several times the volume of the original metal and jacks the joints apart. That same horizontal pattern, paired with white crystalline deposits and bulging, can also point to sulphate attack in the mortar.
Map or random cracking
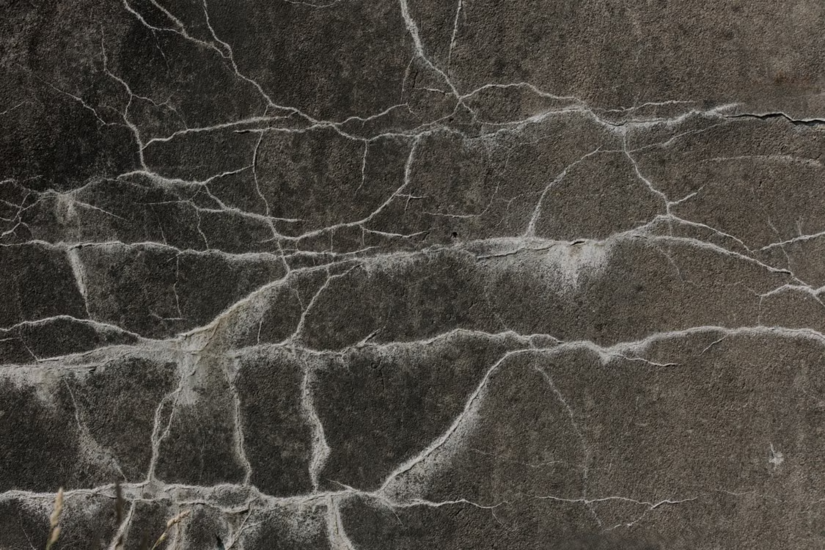
Fine, interconnected cracking across a render or mortar face tends to be a surface issue, shrinkage or a mix that was too strong, rather than something structural. Still worth logging, because it can hide movement underneath.
What causes cracks in brickwork
Match the repair to the cause, or you’re just decorating a fault. The usual culprits:
- Subsidence and heave: Clay soils shrinking in dry spells, tree roots drawing out moisture, or leaking drains washing out fines beneath the footing.
- Thermal and moisture movement: Expansion and contraction with no movement joint to absorb it.
- Wall tie failure: Corroding ties expanding and cracking the outer leaf, common in homes built between the 1960s and early 1980s when zinc coating standards were inconsistent.
- Sulphate attack: Soluble sulphates reacting with cement in persistently wet mortar, causing expansion, horizontal cracking and bowing. Sulphate-resisting cement is the answer below the damp-proof course.
- Lintel failure: A corroded or undersized lintel sagging and cracking the masonry above an opening.
- Overloading: Loads the wall was never built to carry, sometimes after alterations.
Check whether the crack is still moving
Here’s the step most rushed jobs skip. Before you repair anything, work out whether the crack is live or dormant. A crack that’s still opening will tear through fresh mortar or a new stitch within months.
- Fit tell-tales or a crack gauge: Mark the crack and monitor it over weeks, following the approach in BRE Digest 343. Record dated readings.
- Look at the fracture face: Clean, sharp edges suggest recent movement. Dirt-filled cracks are usually older and stable.
- Trace the trigger: A leaking drain or a thirsty tree near the footing means the ground is still shifting, so stabilise that first.
Repair only once the cause is dealt with and the crack has settled. That single habit separates a lasting fix from a callback.
Repair methods that hold
Once you know the category and the cause, pick the method. Here’s where most wall crack repair work lands.
Repointing
For cracking limited to the joints, rake out the failed mortar to a clean depth of at least 15mm, or roughly two to two and a half times the joint width, back to sound material. Cut the joint square at the back, not tapered, so the new mortar keys in.
The golden rule is simple. The mortar must be weaker than the brick. If anything gives in future, you want it to be the joint you can rake out again, not the brick face.
- Modern brickwork: A 1:1:6 cement:lime:sand mix (designation iii, class M4) suits most general external walls.
- Pre-1919 solid walls: Match the original with a natural hydraulic lime mortar so the wall can still breathe.
- Below the damp-proof course: Use sulphate-resisting cement where ground water and sulphates are in play.
Pre-wet the joints and keep them damp while they cure. UK mortar specifications sit under BS EN 998-2.
Cutting out and replacing bricks
Spalled, cracked or sulphate-damaged bricks come out one at a time. Rake around the unit, cut it out cleanly, and bed a matching replacement on fresh mortar. Colour and texture matching counts on a visible elevation, so source bricks that blend with the existing wall.
Crack stitching with helical bars
For stepped, vertical or horizontal structural cracks where the cause has been stabilised, crack stitching is the go-to. Stainless steel helical bars get bedded into slots cut across the crack, extending at least 500mm either side, and bonded in with a non-shrink grout or a polyester resin. They act as a hidden tension strap that reconnects the masonry and spreads load across the fracture.
- Bar embedment: On a half-brick leaf, bars sit in a chase of 30 to 40mm.
- Layout: Structural cases should follow a designed bar layout, often engineer-specified, not eyeballed on site.
- Standards: Helical bars and their fixings fall under BS EN 845-1.
Done well behind good repointing, the repair leaves no visible mark.
Wall tie replacement and structural work
Where the diagnosis is tie failure, remedial ties are drilled and fixed to reconnect the leaves, usually after a survey with a metal detector and endoscope confirms the extent. Subsidence is a different job again. It belongs with a structural engineer, and may lead to drain repairs, root management or underpinning rather than anything a mason fixes at wall level.
The standards and regs you work to
Wall crack repair in brickwork sits inside a clear regulatory frame, and clients increasingly expect you to name it:
- Approved Document A: Covers structure and underpins any load-bearing repair. It calls for austenitic stainless steel wall ties to BS EN 845-1, spaced 900mm horizontally by 450mm vertically, or at least 2.5 ties per square metre.
- Eurocode 6 (BS EN 1996): The design standard for masonry, with UK guidance set out in PD 6697.
- BS EN 998-2: Specifies masonry mortar.
- BS EN 845-1: Covers ties, straps and reinforcement such as helical bars.
- BRE Digest 251: The reference for grading the damage in the first place.
Knowing how to identify cracks and choose the right repair method is an important part of good brickwork. Tradefox can help you keep building your bricklaying knowledge with interactive training that lets you review key trade concepts and practise at your own pace.
Safety first, always
Cracked masonry can be doing structural work you can’t see, so the safety side isn’t optional.
- Prop before you cut: Removing bricks over an opening without temporary support can drop the masonry above. Needle and prop first.
- Control the silica: Raking and cutting mortar throws respirable crystalline silica. On-tool water suppression or extraction, plus FFP3 or P3 RPE that's been face-fit tested, keeps you inside COSHH limits.
- Work at height properly: Most external repairs mean scaffold or a tower, and the Work at Height Regulations 2005 apply. On larger sites, CDM 2015 duties bite.
- Know your limit: A Category 4 or 5 crack, active movement, or anything over a structural opening is an engineer's call, not a judgement to make with a trowel in hand.