



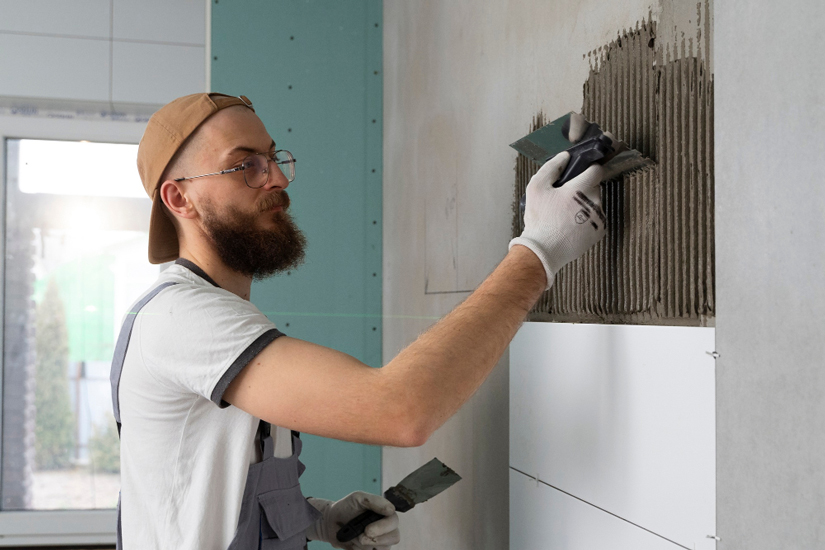
Large-format tiles are still pushing the boundaries of both residential and commercial spaces, thanks to their sleek lines, reduced grout lines, and ability to make rooms feel bigger.
But anyone who’s worked with them knows they’re a whole different beast. These tiles aren’t just bigger versions of the ones we’ve always used, their weight, rigidity, and demands for precise bedding make them a real challenge to work with.
And with large format porcelain or natural stone, success is often dependent on a few key factors: choosing the right trowel, preparing the tiles themselves, and lifting it safely with some proper equipment.
Why Large Format Tiles Require A Different Way Of Thinking
Working with large-format tiles introduces a whole new set of challenges. Their size and type mean that tiny little mistakes become major problems, and you can’t hide them like you could with smaller tiles.
If the tiling surface is a bit uneven, or there’s even a tiny bit of trapped air, the whole tile will sound hollow or sit funny. Large format porcelain, in particular, is a real unforgiving beast, it doesn’t bend to accommodate mistakes.
And in terms of coverage, it’s a whole different ball game. For wet areas, commercial entrances, and high-traffic corridors, you need to achieve near-complete contact between the adhesive and the back of the tile to get a secure bond.
The combination of scale, weight, and how dense the material is means preparation and handling are way more important than they would be with standard tile sizes.
Large Format Tiles: The Numbers That Matter
Large format tiles show up every small fault in the floor, the adhesive bed and the layout. These are the figures from the British Standard, manufacturers and UK warranty providers that decide whether a large format job stays flat and stays stuck.
| Item | Figure or rule | Source |
|---|---|---|
| What counts as “large format” | A tile over 3,600 cm² in area (anything bigger than 600 × 600 mm), with no edge longer than 1,200 mm. Anything over 1 m² with an edge longer than 1,200 mm is classed as a ceramic panel. | BS 5385-1:2018, via the Tile Association |
| Substrate flatness | Aim for SR1: no gap bigger than 3 mm under a 2 m straightedge. NHBC also asks for tiled floors to be within ±3 mm over 2 m. Use a levelling compound on floors, and backer board or render on walls, to get there. | BAL; NHBC Standards 9.3.5 |
| Adhesive coverage | Tiles of 0.1 m² or more should be solidly bedded. The 50% contact minimum for notched-trowel work isn’t enough for large format or thin tiles. Spot fixing is out. | BS 5385-1:2018, via the Tile Association; BAL |
| Back-buttering | Use the “floating and buttering” method. Comb the bed with the right notched trowel, put a thin skim of adhesive on the tile back to fill the keys, then press the tile into the ribs. | Tile Association; BAL |
| Wall tile weight | Gypsum plaster carries about 20 kg/m² of tile and adhesive. 9 mm porcelain alone weighs around 18 kg/m², and a 3 mm solid bed of cement adhesive adds roughly 4–5.5 kg/m², so check before tiling onto plaster. | Tile Association |
| Height on walls | Tiles over 0.1 m² fixed more than 3 m above floor level need mechanical fixings as well as adhesive. | BS 5385-1:2018 |
| Rectangular tile offset | For long rectangular tiles and planks, keep the stagger to one-third of the tile length or less (no more than 300 mm on a 900 mm plank). A 50% offset lines up the high point of a slightly bowed tile with the low point of the next. | Tile manufacturers, via Tile Warehouse |
| Lippage (step between tiles) | Older Tile Association guidelines allowed up to 1 mm across joints under 6 mm wide, and 2 mm across wider joints. Treat that as the limit, not the target. | Tile Association fixing guidelines |
| Movement joints (floors) | Fit them round the perimeter and at upstands. Indoors, split floors into bays at 8–10 m centres. On underfloor heating, keep bays to 40 m² or less with no side over 8 m. External floors need joints at about 3 m intervals. Joints should be at least 3 mm wide and carried through any screed joints. | NHBC Standards 9.3.5; BAL; Instarmac |
Levelling Systems: What They Do And Don’t Do
Clip-and-wedge or cap systems (Mapei’s range, for example, covers tiles roughly 3–21 mm thick, depending on the system) pull neighbouring edges level and hold them while the adhesive cures. They also set the joint width. They’re there to control lippage, not to fix a bad substrate. If the floor isn’t within the SR1 tolerance above, level it first. For more on choosing and using them, see our tile levelling system guide, and for bed depths and notch sizes, see tile adhesive thickness.
Handling
BS 5385-3:2024 says thin panels need purpose-made support equipment for unpacking and fixing, so they don’t crack. The same standard says to spread only enough adhesive for one panel at a time, so the bed doesn’t skin over. Use suction lifters and two people for the big ones, and plan the route from the van to the room before you start.
Choosing The Right Trowel For Large Format Tiles
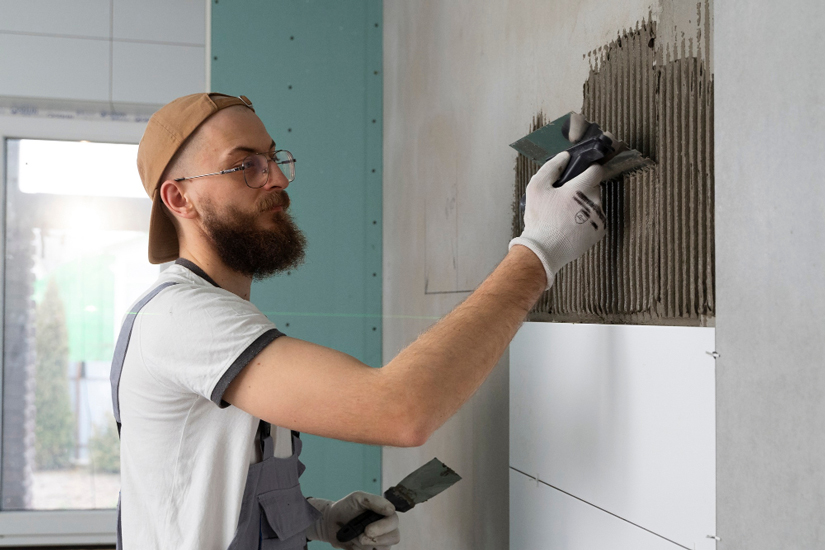
One of the most overlooked steps in tile installation is choosing the right trowel, and it’s a critical one.
While that square-notched trowel is a staple for most tile installations, large format tiles often benefit from deeper notches or different profiles to help the adhesive do its job.
The size of those notches is crucial too, a small trowel designed for smaller tiles just isn’t going to provide enough adhesive to get the job done.
A deeper notch or a different profile helps the adhesive spread across the entire surface of the tile, reducing the risk of hollow spots and getting a consistent bed of adhesive.
Lots of professionals mix and match between square-notched and U-notched profiles, depending on the adhesive they’re using and the tile they’re working with.
And it’s not just about the notches, the flat side of the trowel is important too, it helps to flatten out the adhesive before you comb it, creating a more even bed.
The size of the trowel you choose will depend on the size and type of tile you’re working with. Here’s a rough guide:
- For 600 × 600 mm tiles, you're looking at a 10-12 mm notch
- For bigger square formats, go for 12 mm
- For rectangular or elongated tiles, 12-15 mm is a good bet
If you’re working with big slab-style or oversized porcelain tiles, you might need to go deeper with a Euro-style notch.
A little experiment with a tile lift test on the first tile you lay can give you an idea if the trowel you’ve chosen is going to get the job done.
Back-Buttering: A Step That Should Not Be Skipped
Back buttering is a simple trick that makes all the difference when it comes to getting large format tiles to stick properly.
When working with porcelain tiles or natural stone, those lovely surfaces of yours can have tiny little valleys or manufacturing residue that just love to get in the way of adhesion.
But a thin layer of adhesive on the back of each tile sorts that problem out in no time. Now, let’s talk about buttering your tiles right. You want a thin, smooth layer, applied with the flat side of a trowel.
It’s not a second set of ridges we are looking for here, but rather a bonding coat that sits on top of the primary ridges laid out on the substrate. This technique all but eliminates air pockets and ensures the tile gets a nice, even coverage.
Back buttering becomes super valuable when working with large-format porcelain, which can be as slippery as an eel.
The process makes sure the adhesive gets a good grip on the surface and gives the tile a bit of support to help those ridges beneath it get a good collapse going.
Now, we know some tile jobs will come along where back buttering might not be a must, like when you have a really flat and pre-treated tile back, but for the most part, when you’re working with large pieces, this extra prep work is going to be a real lifesaver.
Suction Cups: Your Go-To For Safer Handling
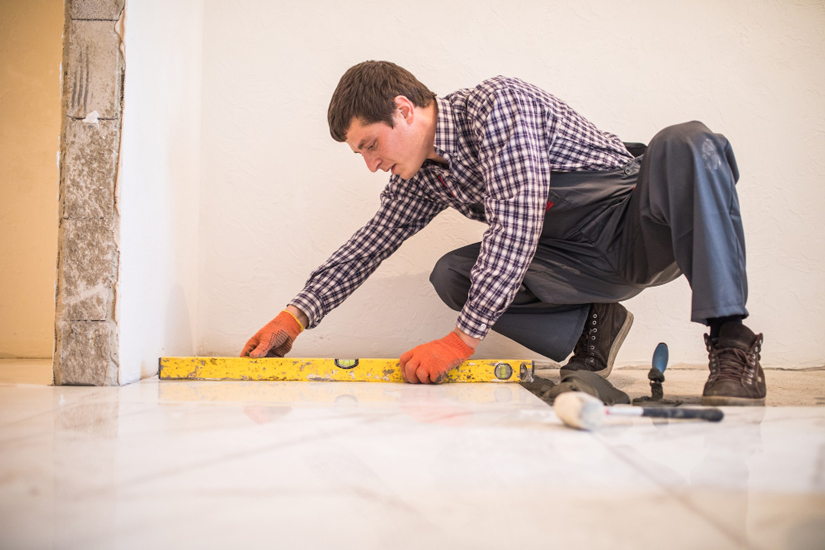
When you’re lifting up large format tiles, you need to be careful not to do any damage to yourself or the tile.
That’s where suction cups come in, a standard tool in the tiling world for managing weight and precision.
You can get all sorts of suction cups out there, each one suiting different tile sizes or weights:
- Single manual suction cups work alright for mid-size tiles
- Double or triple suction systems give you a bit more control and support
- Vacuum-pump suction cups are better for smooth surfaces like glass or finely textured porcelain
- Full-frame lifting systems are especially handy for oversized slabs or large format porcelain sheets
Using suction cups does more than just keep you safe, it also helps guide the tile gently into place, ensuring the adhesive ridges collapse evenly.
And this becomes even more critical when you’re installing tiles in areas that get a lot of water, like bathrooms or kitchens, where precision and uniformity really matter.
Now, there are a few common mistakes that can trip you up using suction cups, applying them to dusty tiles, lifting from one edge instead of supporting the tile evenly, or using worn-out pads that no longer grip securely.
So make sure you prep properly, and you’ll see a big difference in how safe and high-quality your installation is.
Cutting Large Format Tiles Without Cracking Them
A lot of large format tiles get broken on the cutting bench rather than on the floor. Porcelain is hard and dense, and a long tile carries a lot of stress through a cut, so it pays to plan cuts properly before you start.
- Check your cutter’s capacity first. A manual rail cutter can only score a cut shorter than its rail, so make sure it can take the full length before 1,200 mm planks turn up on site. For longer cuts, use a track-guided wet saw or a slab cutting system with a diamond blade.
- Support the whole tile. Rubi advises cutting on a rigid worktable that supports the tile directly under the cutting zone. Flex and vibration make the blade bind and can start micro-cracks ahead of the cut.
- Drill relief holes for L-shaped cuts. Drill a small hole at the internal corner first, then make the two straight cuts into the hole. A rounded corner spreads the stress, while a sharp or over-cut corner is where cracks start. Do the same at each corner of a socket opening, and don’t try to snap out an L-shape that’s only partly scored.
- Use the right blade. A continuous-rim diamond blade chips glazed porcelain less than a segmented one. For pipe holes, use a water-cooled diamond core bit rather than joining up straight cuts.
- Control the dust. Porcelain contains crystalline silica. HSE’s construction dust guidance for powered saws is water suppression or on-tool extraction (with an H or M class extractor), plus RPE with a protection factor of 20, such as a fit-tested FFP3 mask.
A Sensible Workflow For Large Format Tile Installation
A good workflow will help prevent loads of issues associated with large format tiles:
- Check the substrate flatness using a laser or straightedge
- Prepare and prime the surface according to the adhesive instructions
- Apply adhesive in one direction, allowing the ridges to collapse more smoothly
- Back-butter the tile, making sure you get a nice even contact
- Attach suction cups to get the tile lifting and placement under control
- Lower the tile carefully, sliding it gently to help get any air out from under it
- Lift the first tile installed to check how well the adhesive is doing
- Use alignment tools if you need them, to keep your joints looking nice and even
- Clean up as you go, because large tiles always make adhesive residue super visible
This sequence supports even bedding, reduces lippage, and increases the likelihood of long-term stability in both dry and wet environments.
Common Issues Installers Encounter
Even with good preparation, large format tiles introduce challenges:
- A hollow sound may indicate insufficient adhesive beneath a section.
- Corner lifting after curing can point to an uneven substrate.
- Suction cups slipping on textured porcelain often stem from dust or incorrect cup selection.
- Excess adhesive squeeze-out may signal an oversized trowel or poor technique.
- Bowed tiles, more common with longer planks, require careful ridge direction to mitigate rocking.
Recognizing these issues early can prevent callbacks and material waste.
Why Large Format Installs Fail
The problems above usually trace back to a handful of decisions made before the first tile went down. These are the ones worth checking on every job.
- The wrong adhesive. Adhesives are classified under BS EN 12004: C means cementitious, 2 means improved characteristics, T reduced slip, E extended open time, F fast setting, and S1 or S2 means deformable (S1 is 2.5 to 5 mm of transverse deformation, S2 is more than 5 mm). Topps Tiles puts large format wall tiling at C2T as a minimum. Heavy tiles in a thick bed also need an adhesive designed for that bed depth; Mapei warns that one that isn’t can slump and leave a sunken corner or edge. Check the data sheet for maximum bed thickness before you buy.
- A screed that isn’t ready. Calcium sulphate (anhydrite) screeds should read below 75% RH on a hygrometer, have the surface laitance mechanically removed, and be primed to the adhesive manufacturer’s spec before tiling. Skip any of these and the bond can fail at the screed surface, not the tile.
- Underfloor heating that wasn’t commissioned, or was heated too fast. Instarmac’s guidance for screed-encased systems is to fully commission the heating first (normally a 7-day heat-up and cool-down cycle), tile with the floor at a cutback temperature of no more than 15 °C, hold that temperature for at least 7 days after grouting, then raise the water temperature by no more than 5 °C a day.
- Adhesive that has skinned over. Each big tile takes longer to cut, clean and position, so the combed bed can skin before the tile goes down. Touch the ribs before you place the tile: if adhesive doesn’t transfer to your fingertip, scrape it off and re-spread. This is why BS 5385-3 says to spread only enough adhesive for one panel at a time.
- A floor that flexes. Topps recommends an S2 adhesive where tiling goes onto tongue-and-groove boards or floating floors, but BAL is clear that S2 adhesives and uncoupling mats don’t make up for a floor that deflects. The floor must be rigid first, so overboard or brace it before tiling.
Supporting Skill Development For Tradespeople
Modern trades require continuous adaptation to new materials and installation methods.
A resource like https://tradefoxapps.sitepreview.me offers a simulation environment where electricians, plumbers, and other tradespeople can improve their skills and explore complex scenarios without the hazards of a real site.
Access to practical, risk-free training supports better workmanship across the industry.
Résultat final
Handling large format tiles demands precision at every stage, from choosing the right trowel to managing the tile during placement.
Proper back-buttering, appropriate suction systems, and a structured workflow significantly improve installation quality.
When these elements come together, the results speak for themselves: a stable, durable, and visually impressive finish suited for both residential and commercial environments.
Large Format Tiles: FAQs
What size counts as a large format tile?
Under BS 5385-1:2018, as summarised by the Tile Association, a large format tile is one over 3,600 cm² in area, so anything bigger than 600 × 600 mm, with no edge longer than 1,200 mm. Over 1 m² with an edge longer than 1,200 mm, it’s classed as a ceramic panel.
Do large format tiles always need back-buttering?
In practice, yes. BS 5385 asks for a solid bed under tiles of 0.1 m² or more, and every large format tile is well over that. The usual way to get there is floating and buttering: comb the bed with the right notched trowel, skim the back of the tile, then lift the first few tiles to check the coverage.
What adhesive should I use for large format tiles?
At least a C2 (improved) cementitious adhesive, with T (reduced slip) on walls. Choose an S1 or S2 deformable adhesive where the substrate or heating will move, and make sure the product is rated for the bed thickness you need. The manufacturer’s data sheet has the final say.
Can I fix large format tiles to plasterboard?
Only if the weight works. Topps Tiles gives approximate limits of 20 kg/m² for gypsum plaster and 32 kg/m² for plasterboard without a skim, including the adhesive. Heavier tiles need a cement-based backer board, which can take far more (fibre cement boards up to around 200 kg/m²). Always check the board manufacturer’s figure, and remember tiles over 0.1 m² fixed more than 3 m up also need mechanical fixings.
What’s the best tool for cutting large format tiles?
For straight cuts, a rail cutter long enough for the tile or a track-guided wet saw. For notches and curves, use an angle grinder with a continuous-rim diamond blade, drilling relief holes at internal corners first. Cut wet or with on-tool extraction, and wear an FFP3 mask.